


All About Trims: How to Finish Off Your Wall Panel Project
We often get asked about the various trims we offer for our wall panels. Do I need them? What’s the difference between the types of trims? What are the benefits?
We’re here to answer all your burning questions!
Do I need trims for my wall panel project?
Truly, the answer to whether or not your wall panel project needs trims is “it depends.”
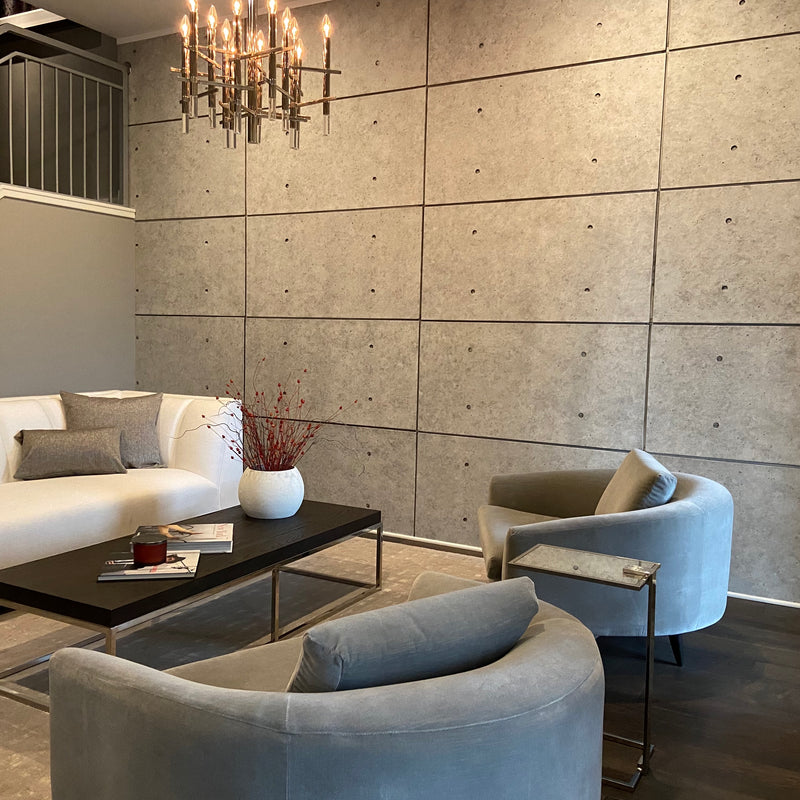
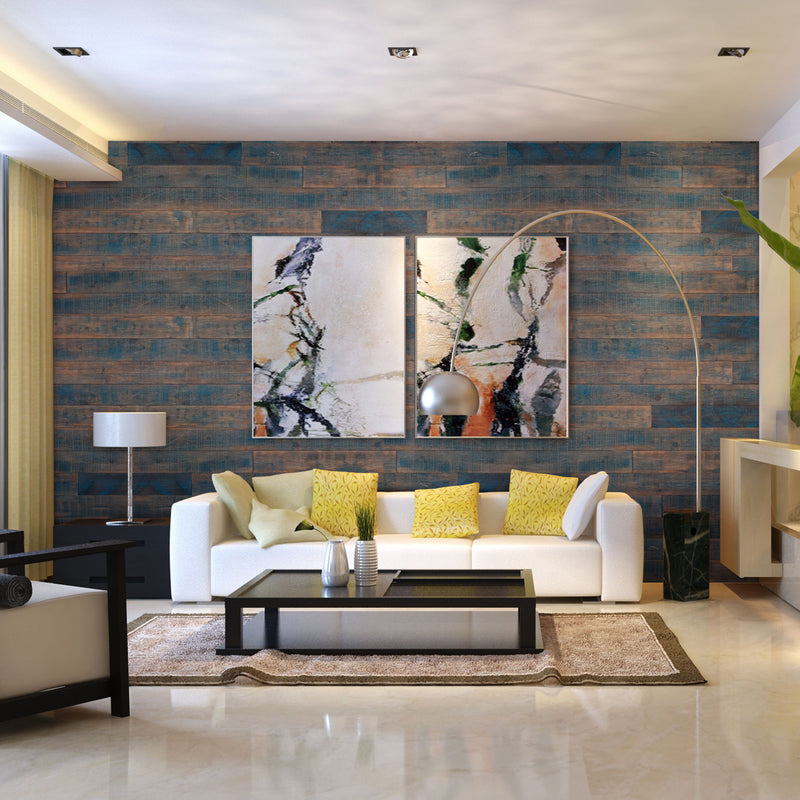
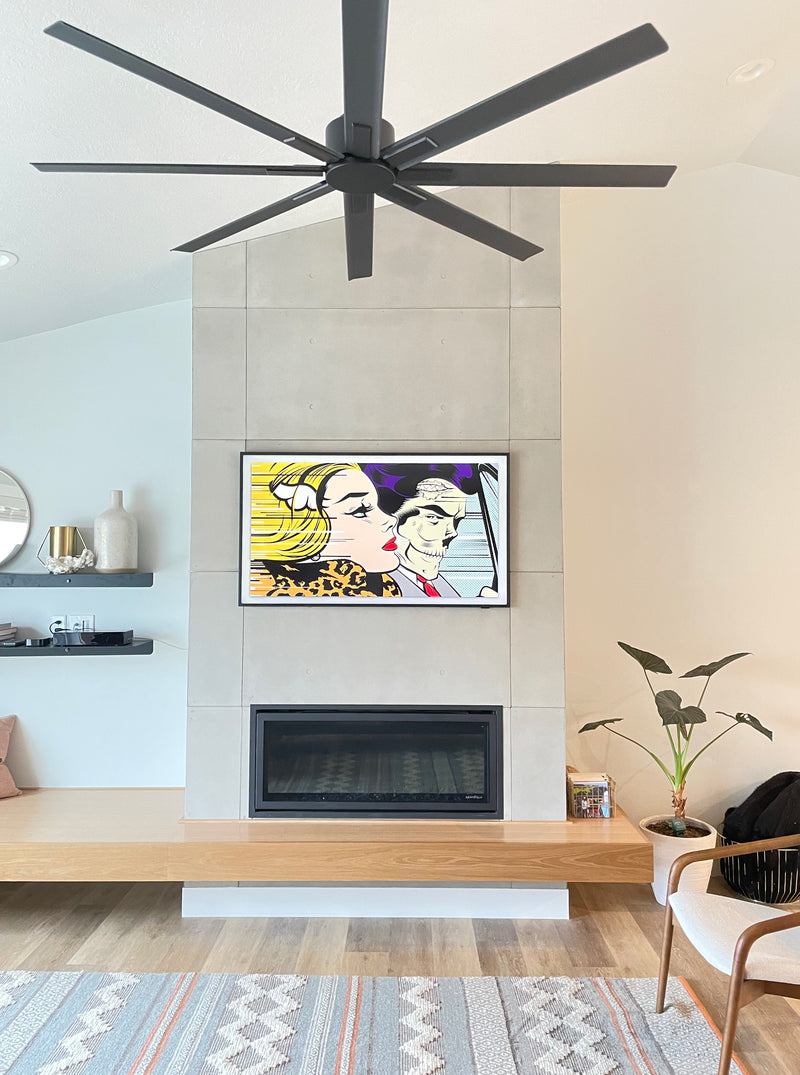
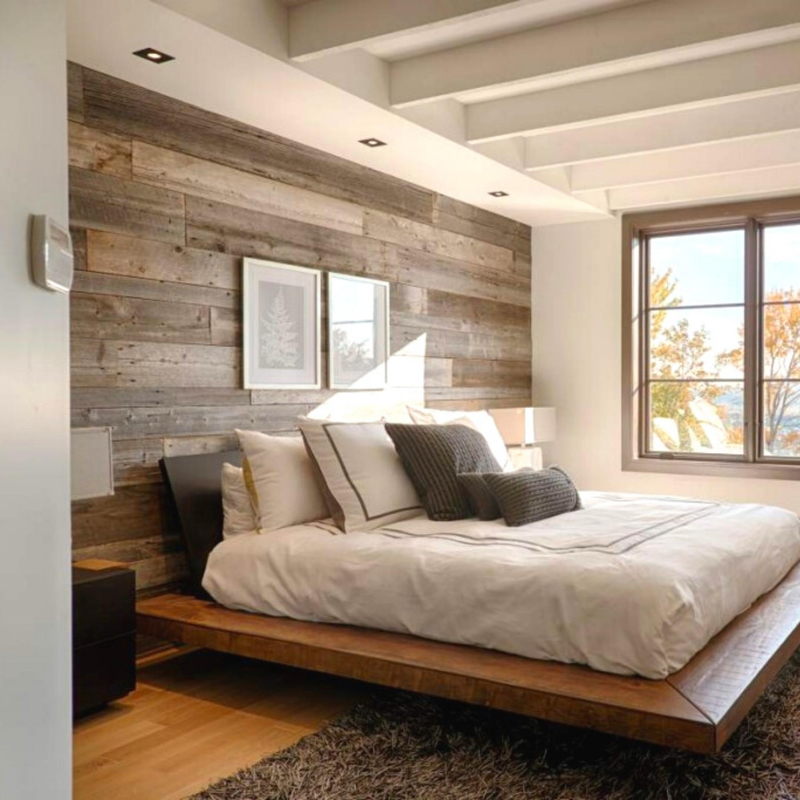
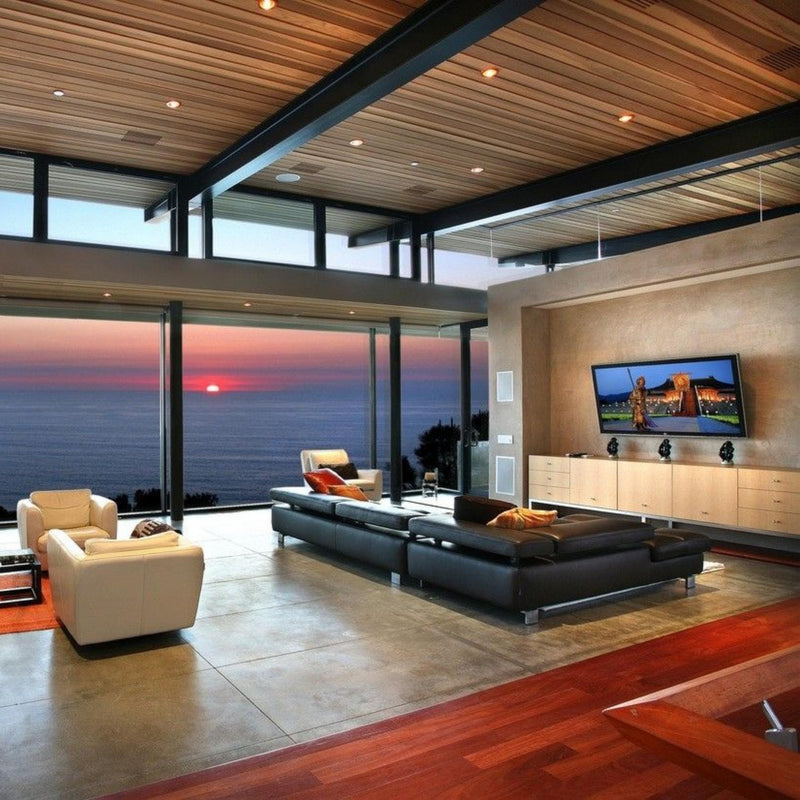
In some cases, the choice is purely aesthetic. If you’ve got a corner you want covered or an edge you want to blend into the panels, trim is a great choice. It will create a more polished finish to your project. Not all wall projects need it though, especially if your wall panels go right to the ceiling or if you’re using corner panels to wrap around an edge.
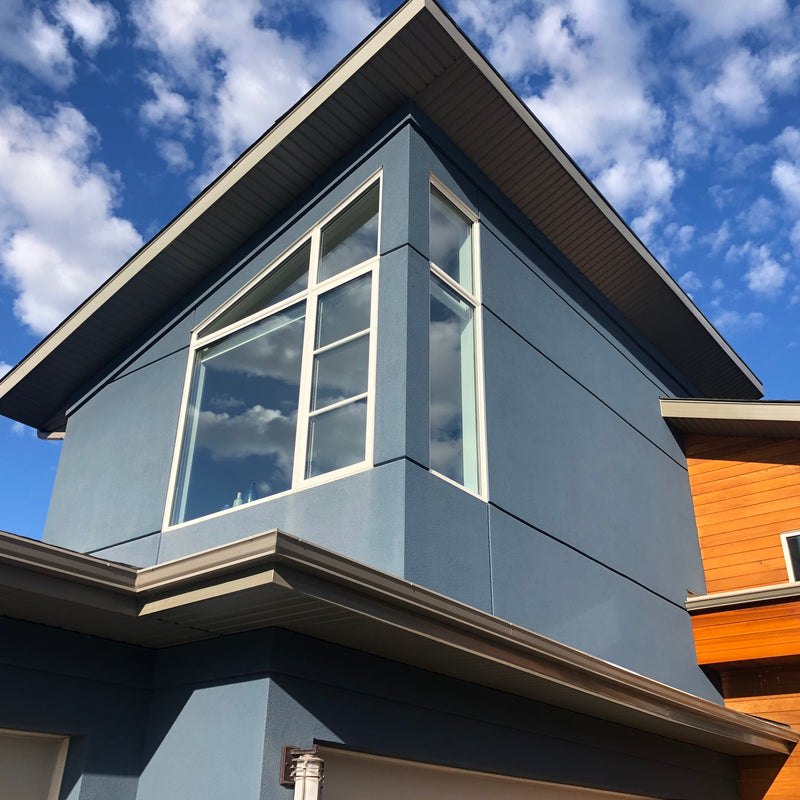
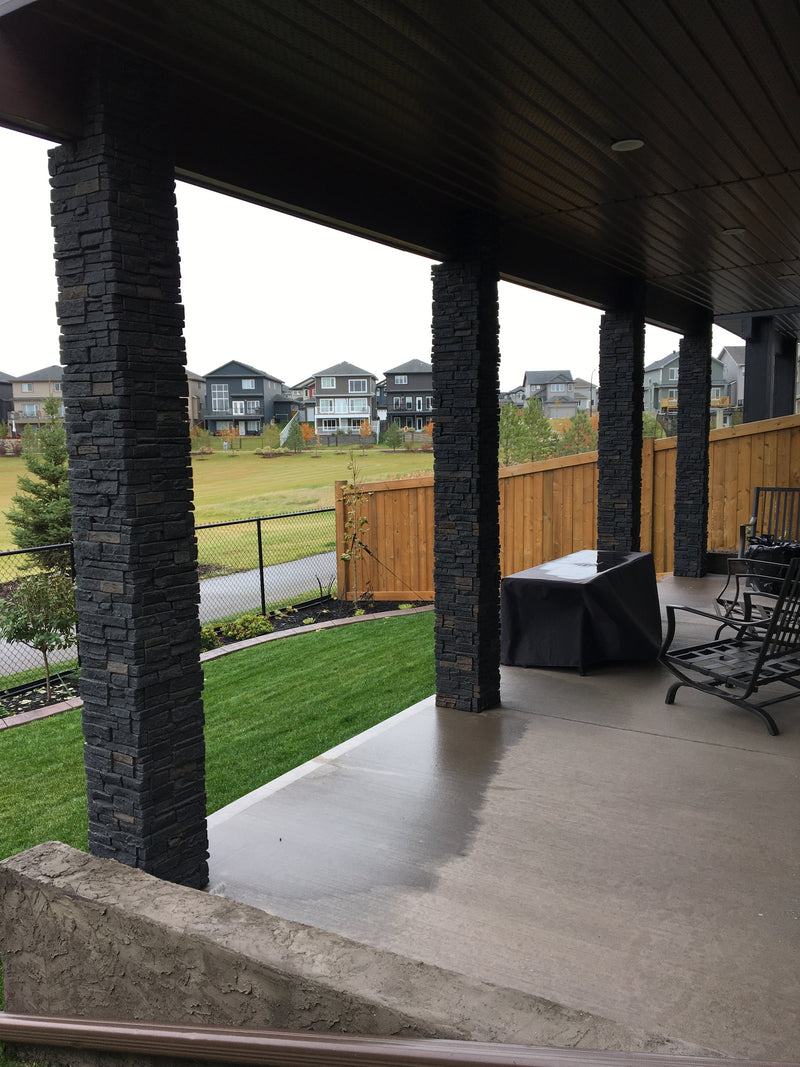
Sometimes, the question of if you need trims for your project is functional. On exterior projects, ledge trims act as a drip cap to allow for proper water shedding to prevent water damage, both to your siding and to the wall underneath.
In high-traffic areas, corner trims may help protect wall panelling from excess wear and tear.
The best way to know if you need trim for your project or not is to determine the final look you want, and to make sure that any functional concerns are addressed. If you’re not sure, we are always happy to help answer any questions!
What’s the difference between the types of trims?
We’ve broken down the different types of trim we offer for our various wall panel products so you know when and where you might want to use them.
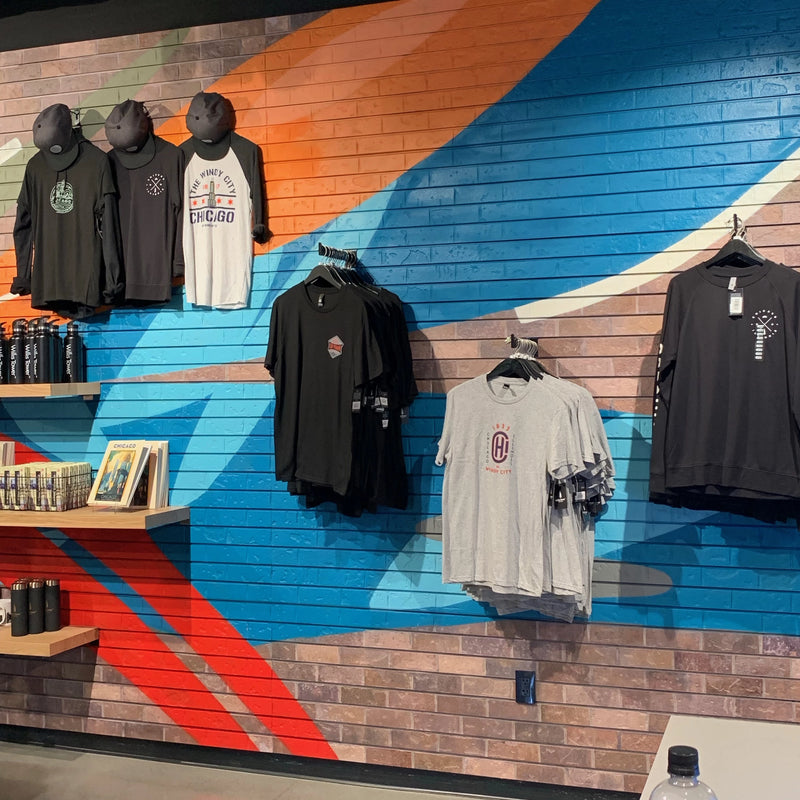
Corner trim

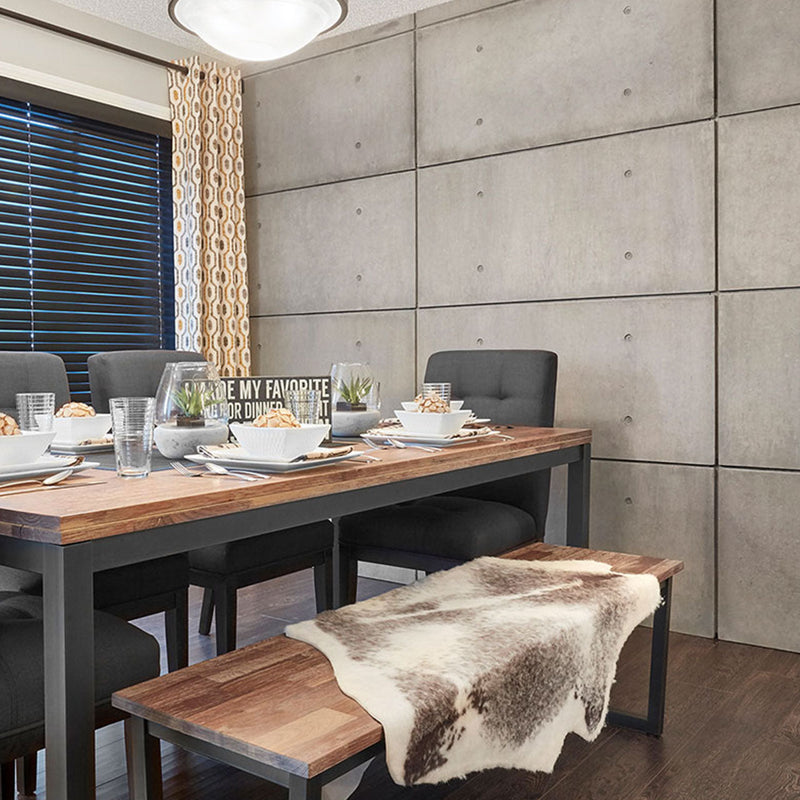
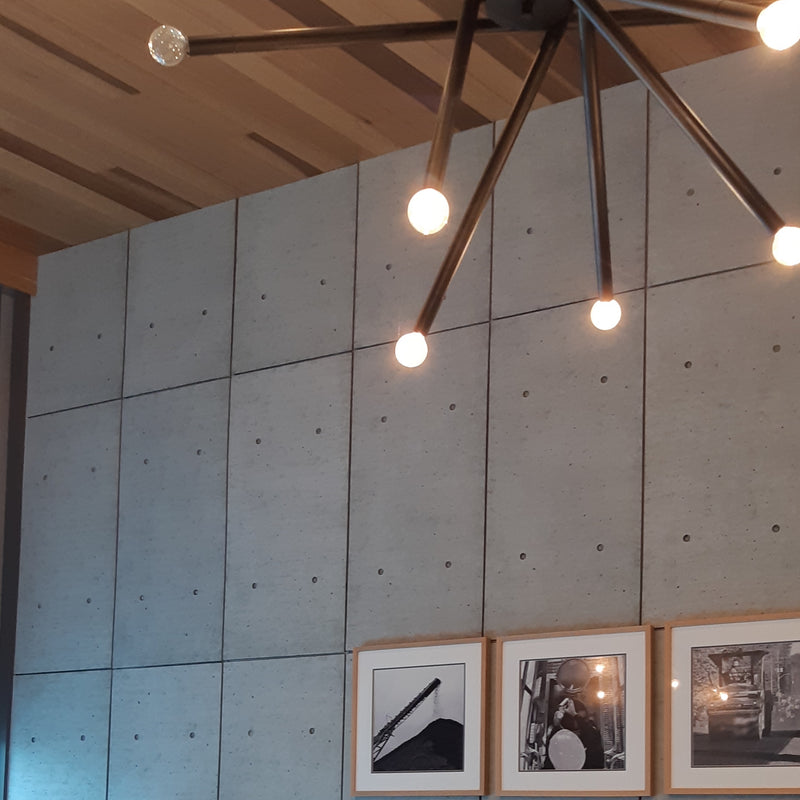
Corner trim is usually installed on the outside corner of a wall to create a clean, finished look when the panels aren’t being mitered together on either side of the corner. It can also be used to protect the corner from damage.
Corner trim may be made of the same material as the wall panels, or it could be made from a contrasting material depending on your desired look.
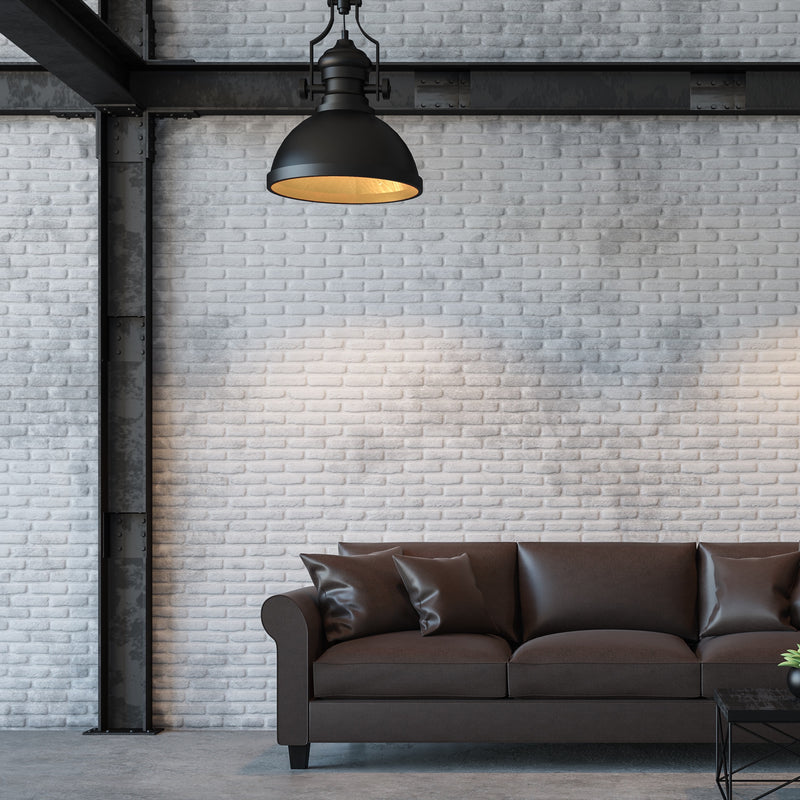
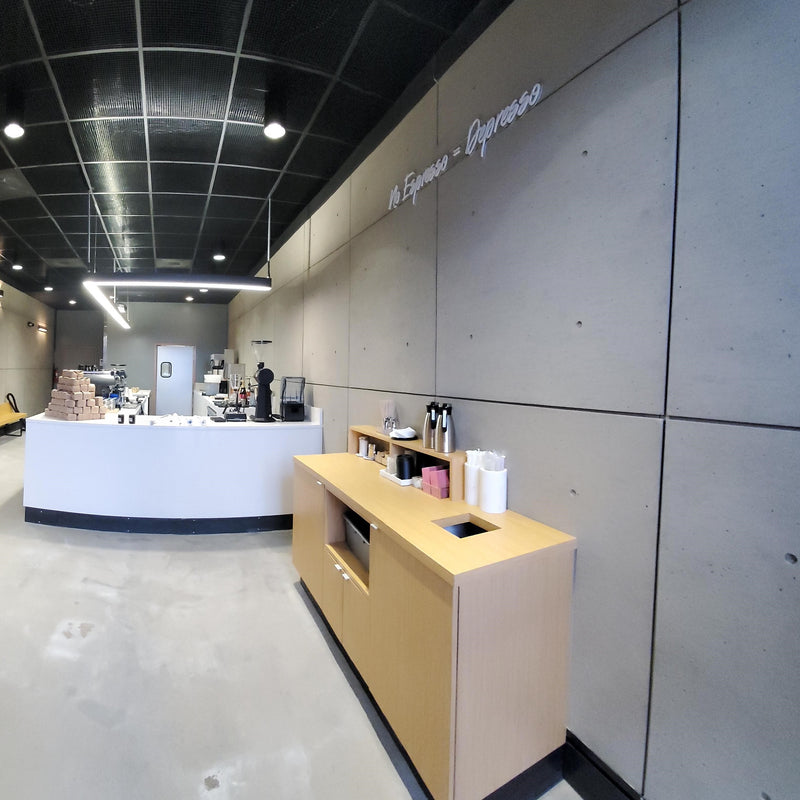
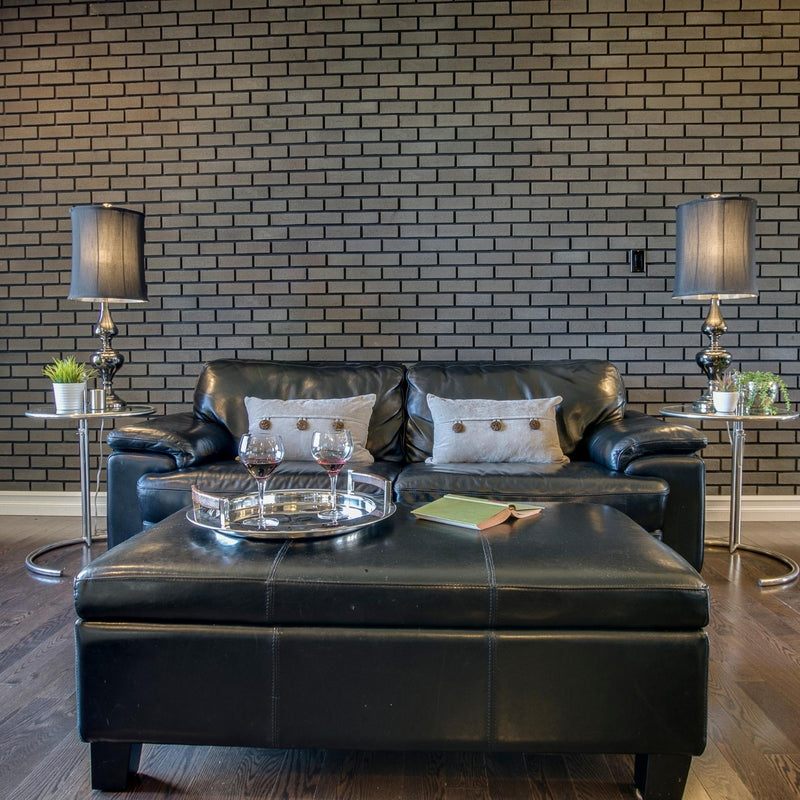
For instance, steel corner trim can add an industrial feel to your wall project, and it also offers great protection for high traffic areas like in restaurants or commercial spaces.

Side trim

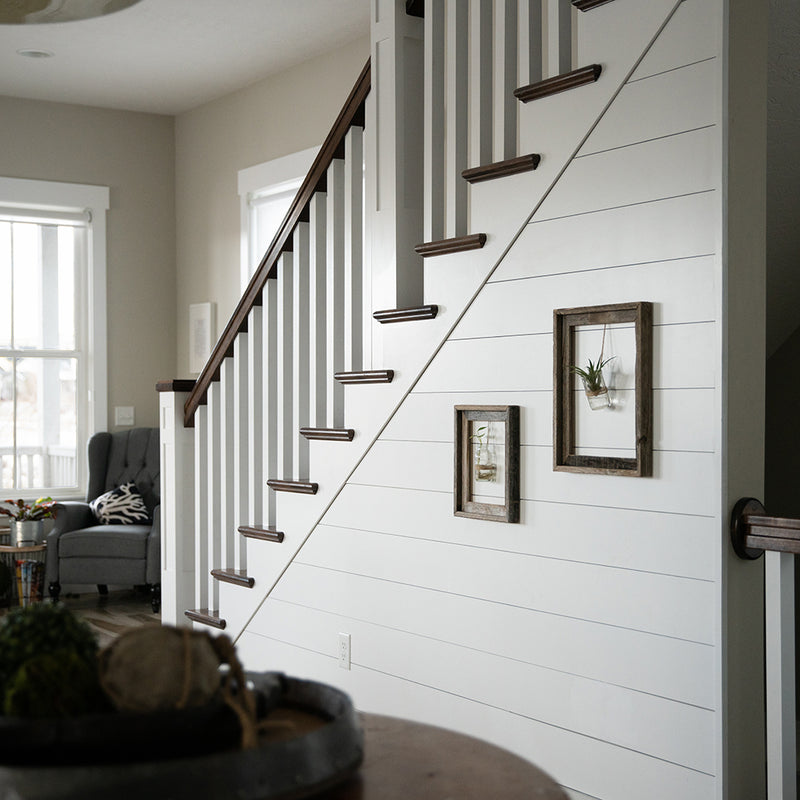
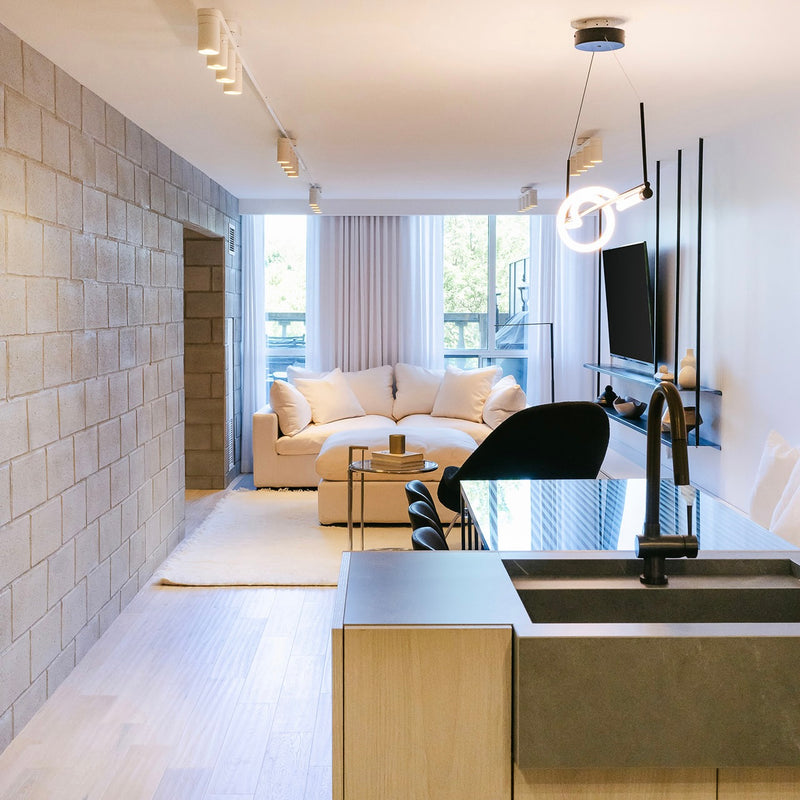
Side trim is a thin, vertical trim that sits under wall panels to complete unfinished edges. They’re made from aluminum and are a very low profile and clean way to finish off the sides of your wall. Simple and effective!
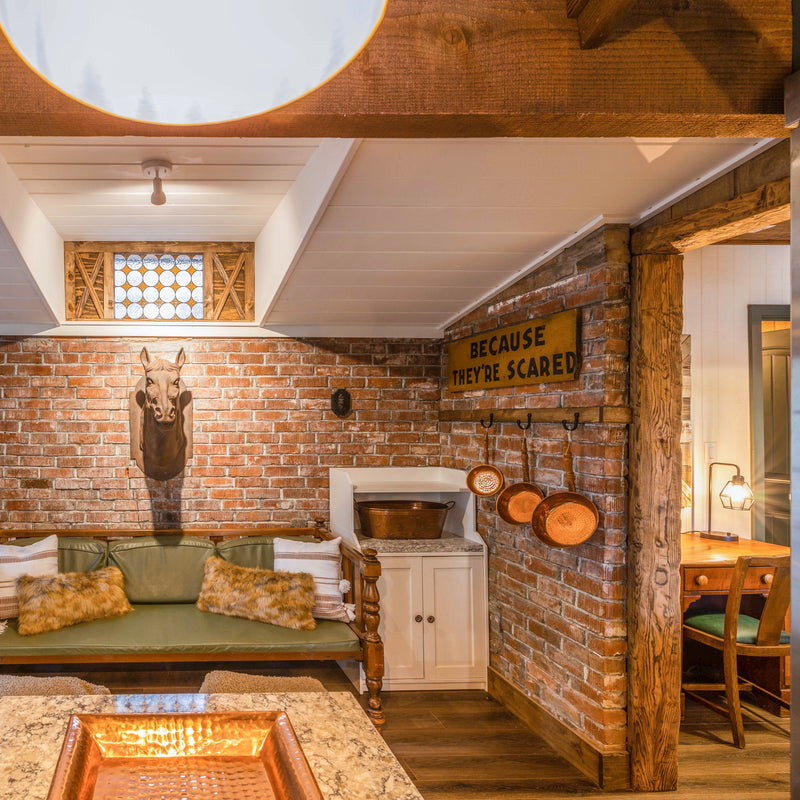
Edge trim

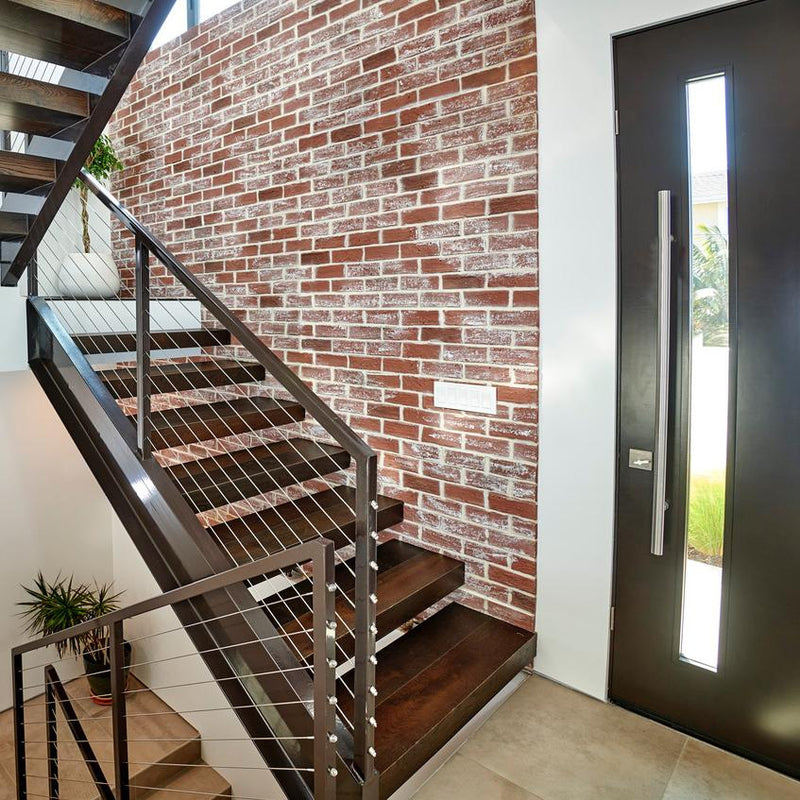
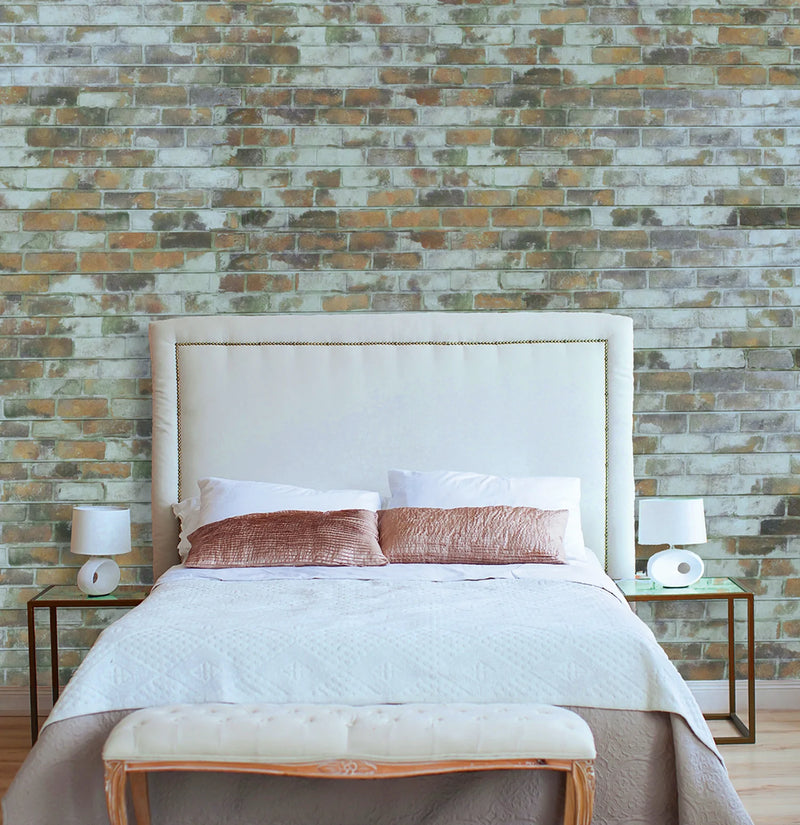
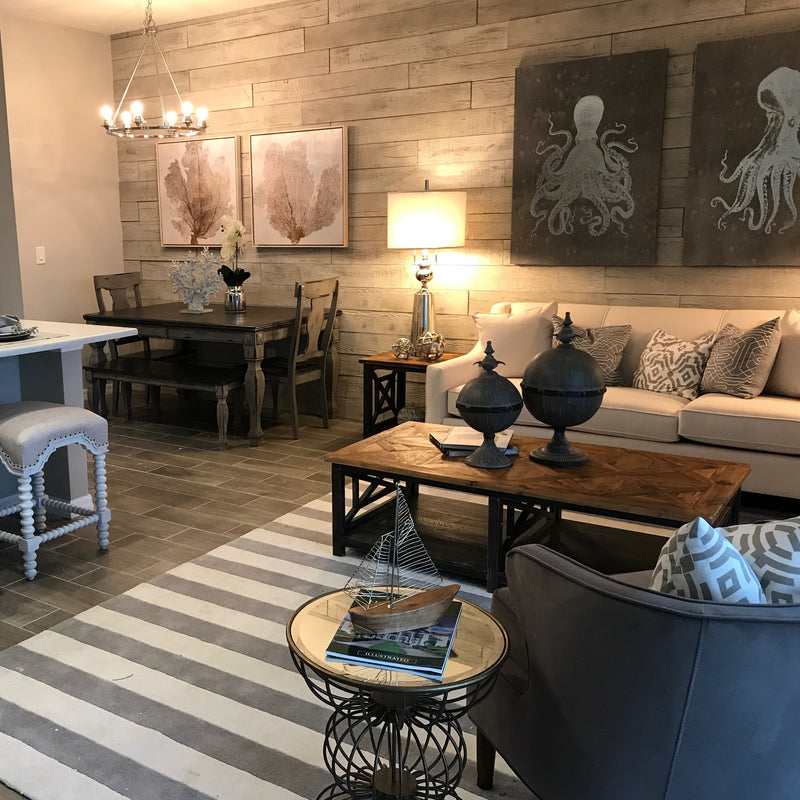
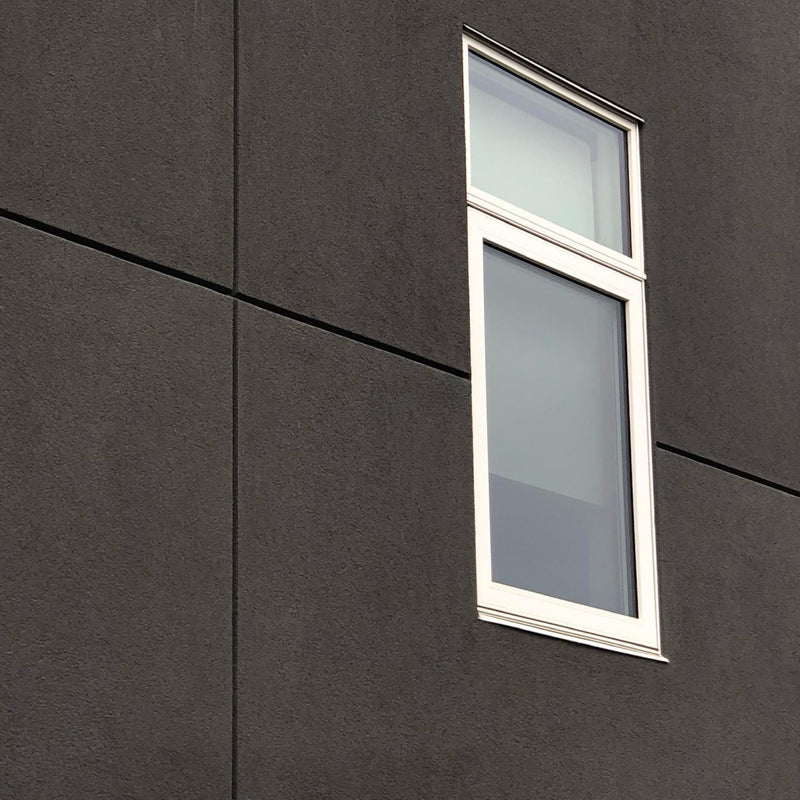
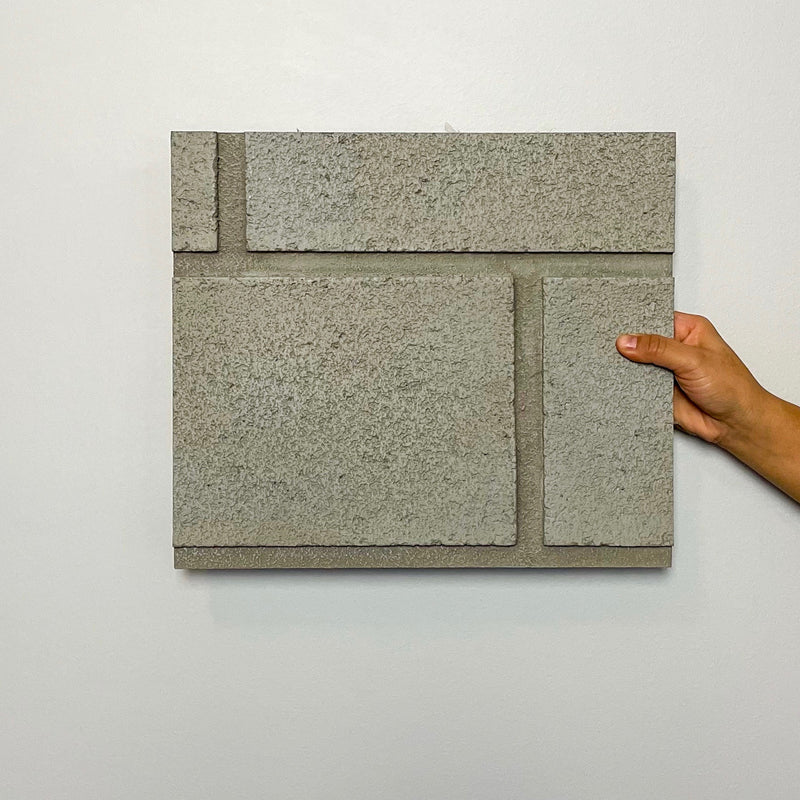
Edge trim is also vertical trim for any unfinished edges, but it is installed by butting it up against the outer edge of panels and typically matches the profile of the panel for a bolder look. Measuring 2” wide, it’s often used to trim out windows and doors or to complete a run of faux stone. Edge trim keeps the look of rustic stone or brick going right to the edge of your wall.
Ledge trim

Wait, Ledge Trim? Didn’t we just cover Edge Trim? What’s the difference?
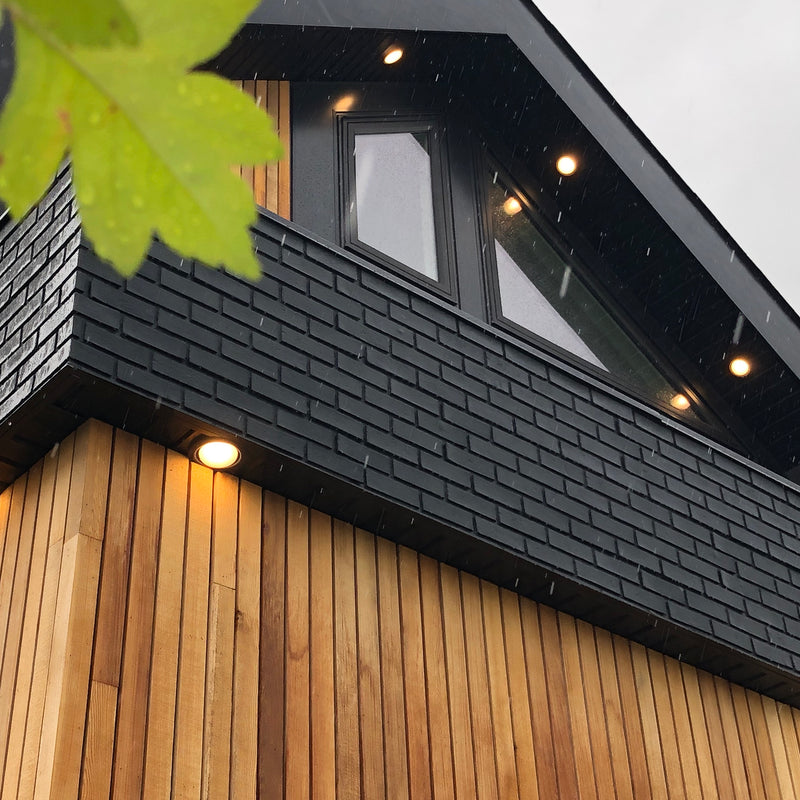
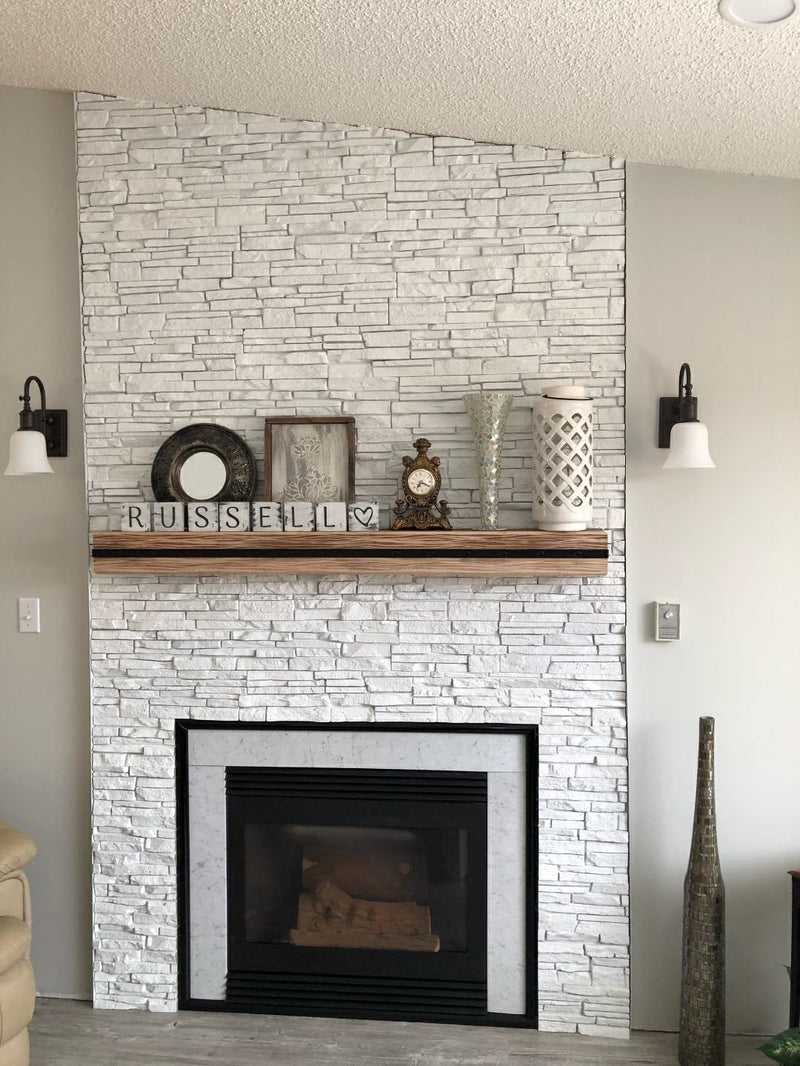
Ledge trim is the horizontal trim that caps off the top of of stone or brick panels. This works well as a transition strip from faux stone to siding or stucco.
Ledge trim also acts as a drip cap to stop water from damaging the stone panels below or even worse, the wall beneath it. Beautiful and functional!
Top trim

Top trim is a horizontal trim similar to ledge trim, but it’s thinner and shorter than ledge trim, which makes it ideal for smaller sections that you want to have a lower profile, like under windows.
Top trims are 2 feet long and 2 inches high, whereas ledge trims are 4 feet long and 3.5 inches high. Top trim can also be used as a drip cap to help with watershed.
To sum up the differences between these vertical and horizontal trims:
Edge trim and side trim = vertical
Ledge trim and top trim = horizontal
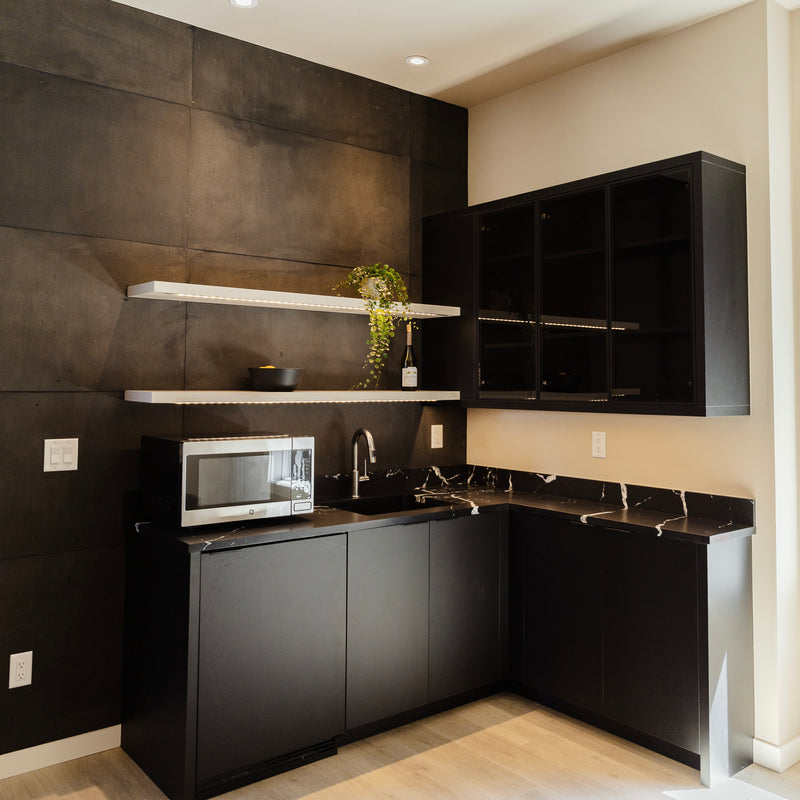
Electrical trim

Electrical trims are–you guessed it–trims that go around electrical outlets. This allows you to cut where you need for your electrical outlets and still maintain a finished look.
Fixture trim

Fixture trims are similar to electrical trims, but they are sized for wall lights and sconces. Their larger size and wider opening also makes them ideal for irregular shaped fixtures like thermostats, or larger electrical fixtures.

- - -
So there you have it! All the trims, explained. Still not sure what you need? Get in touch and we’ll be happy to help you choose!