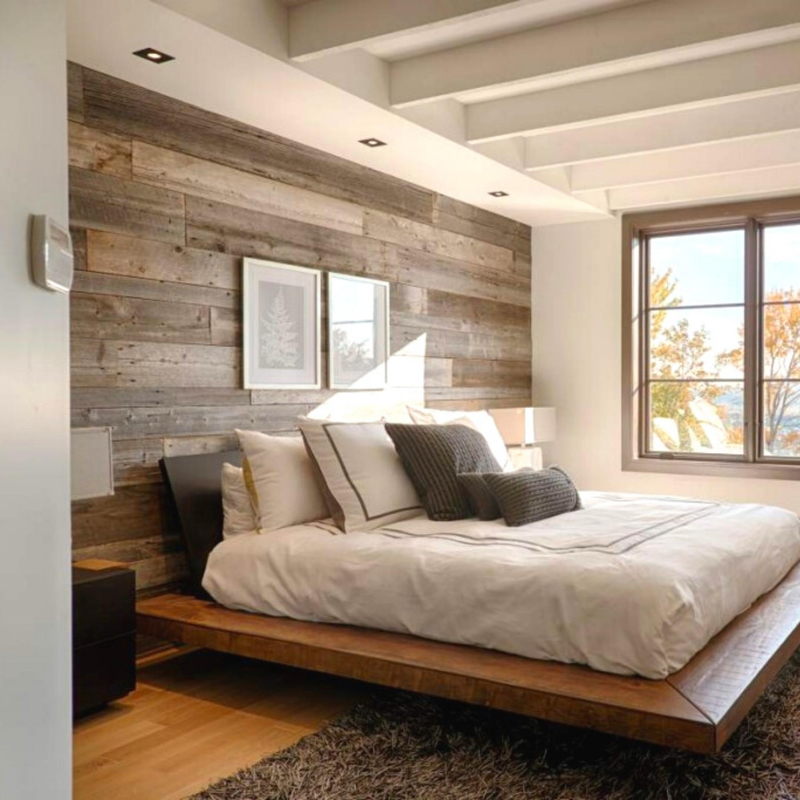
Installing Reclaimed Wood Walls
AS-IS BRAND Wood Walls Install Tips

Step 1
Clear all art work, nails, etc. that may be sticking out from your wall as AS-IS BRAND wood planks can be placed directly over gypsum, wallpaper or other flat wall surfaces.

Step 2
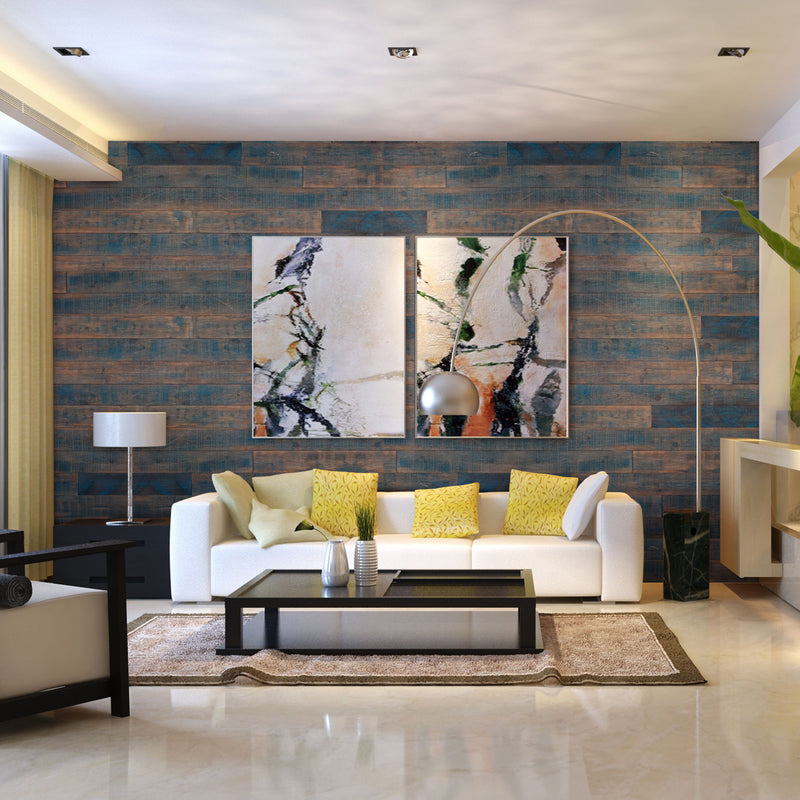
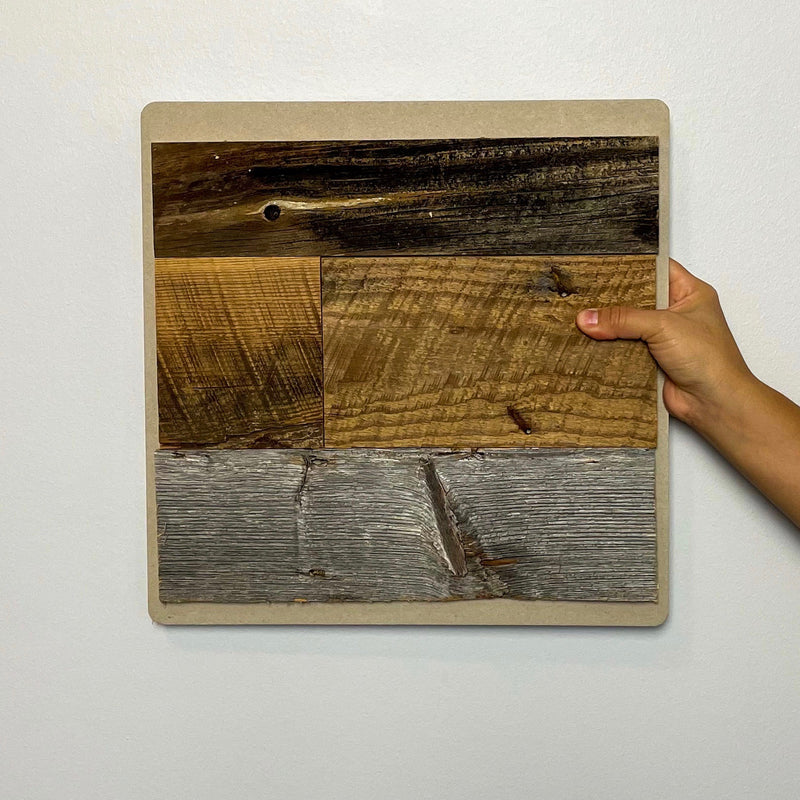
Starting on the bottom row, and keeping the boards level, affix the boards from one side to the other. An air nailer works well (1 or 1-1/2" brad nails) or a construction-grade adhesive. Keep in mind to vary the board sizes, colors, and textures as you move along the wall.

Step 3
At the end of a row, you will likely need to take a measurement and make a cut of the piece needed to finish off that row of wood wall.

Step 4
Start the next row using the cut piece from the previous row. This will help you reduce waste and allows you to stagger the joints, an important part of creating a varied look.
Step 5
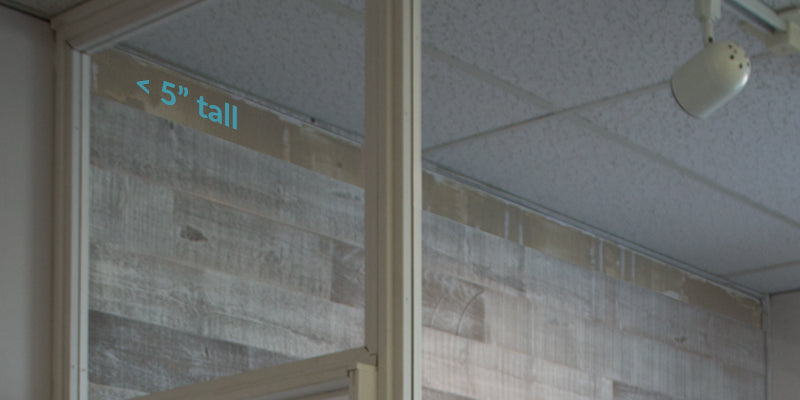
Continue in this fashion for each row. When you are within 5" from the ceiling (or your desired height), simply measure the height of the remaining space.

Step 6
Using a table saw or hand saw, cut the boards lengthwise to the desired size for the final row (minus 1/16" to allow for possible expansion). Install the final row of boards.
